-
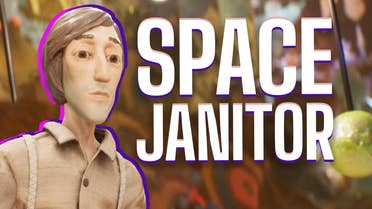
VIDEO Harold Halibut is too good to be a 90s throwback
Part Wallace & Gromit, part Red Dwarf, there's a magic to the way this Game Pass gem blends old and new.
-
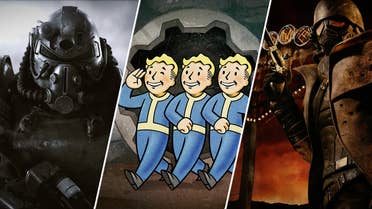
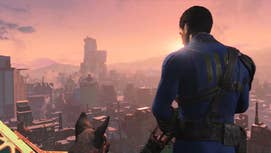
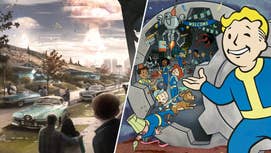
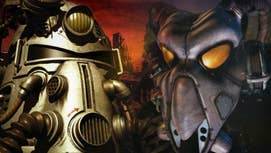
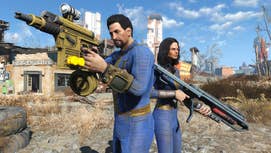
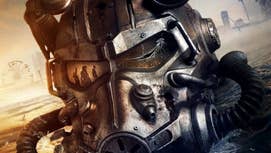
FALL-THAT JAZZ The Best Fallout games: Every Fallout game ranked
You inevitably will when we put Tactics at number one, but please don't get angry.
-

FIGHTING MUSIC "We're trying something out that's very experimental" - Casey Edwards opens up about 2XKO's soundtrack
A chat with Casey Edwards on his journey to 2XKO, and his role on the project.
-
TEAMWORK TROUBLE Chill out, Helldivers 2 hardcores trying to get casual players to stick to the battle plan, Arrowhead's doing what it can to help out
"Short of handing you the win, there isn't a lot more we can do."
-

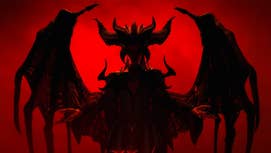
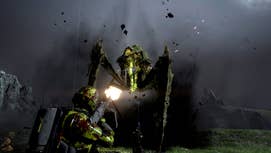
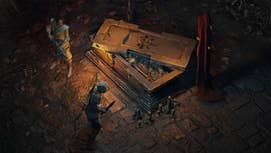
It certainly looks like you'll be in for a weird time with The Watchers.
-

TAKING IT SLOW Tom Holland says "everyone wants" Spider-Man 4 to happen, but he's still staying cautious
"We want to make sure we're not overdoing the same things."
-

HAM RADIO SILENCE As Fallout: London's former release date passes by, its lead laments the effects of Bethesda's apparent next-gen update silence
"People are blaming Bethesda, even though I asked them not to, and I think that's inevitable when there's that lack of communication."
Psst! Explore our new "For you" section and get personalised recommendations about what to read.
-
FULL FRONTAL Don't worry, Stellar Blade will stay "uncensored" no matter where you live
You'll got the complete experience, it's ok.
-
POST-NUCLEAR PERKS Hopping back into Fallout 4 and want to spice up your new character? One of its top perk overhaul mods just got a fresh revamp
Hot diggity, the ability to hop like a radioactive frog.
-

HANDS OFF Sony's latest patent imagines a future where your PlayStation... plays your games for you?
Who wants to play their own games anyway?
-
NAMESAKE No Rest for the Wicked is already making some of its most most annoying mechanics better
No Rest for the Wicked wrapped up its first weekend with a duo of hotfixes that definitely made a few things better.
-
ONE BECOMES THREE After laying off over 1000 people, Embracer Group makes itself some friends by splitting into three companies
Hopefully this is the beginning of the end for layoffs at the company.
-
Democracy's waited, and now it should be back on track!
-

TROPHY TROUBLE UPDATE: With Fallout 4's next-gen update just days away, the game's achievement unlocking issues on Xbox should now be solved
Achievement now actually unlocked: Return to The Commonwealth.
-
BLOODY GOOD TV A Diablo show isn't in the works, but the head of the series certainly likes the idea of one
An animated series was supposedly in development at one point in time.
-

SHY GUY FTW There's over 700,000 possible builds in Mario Kart 8, and science has determined the best one
It'll never beat your favourite, though.
-
THE BEGINNING The Fallout TV show’s good, but Bethesda shouldn't be afraid to let the series out of its Vault-Tec liveried box
War may never change, but that doesn’t mean Fallout’s world needs to stand still.
-

Best Nintendo Switch deals in April 2024
Find the best Nintendo Switch bundles for OLED, standard and Lite consoles.
-

PS5 stock: latest updates on where to buy the PlayStation 5
Here's all the retailers that currently have Sony's next-gen console in stock.
-

Best Xbox deals for April 2024
The best deals on Xbox Series X/S, Xbox games, Game Pass, accessories and more.
-

A NUCLEAR APPROACH Fans might like Fallout 3 now, but back when it was announced there were so many death threats Bethesda had to hire a security guard
Always a good time to remember that they're just video games, people.
-
COOL YOUR JETS Hades 2 isn't even out yet, and Supergiant is already having to ask people to stop datamining it
You can hold off looking at all those beautiful gods, can't you?
-
SIMPLY INFECTIOUS Dragon's Dogma 2's next update will tone down Dragonsplague, so you can stop complaining about it now
There'll be several other fixes and tweaks, too.
-
BOP TO THE TOP What's next for Helldivers 2? Making it "the best live service game you've ever played"
"We just need to find our stride and balance."
-

PLAY WITH NOTHING LittleBigPlanet 3's servers are staying offline "indefinitely" meaning more than a decade's worth of user-made levels are gone for good
The servers were taken offline in January, but were planned to be restored originally.
-
FORAGING FOR HERBS No Rest for the Wicked makes a killer first impression, but I’m worried about all the crafting and survival guff
I am wary about how No Rest for the Wicked's mechanics could drive players away over time.
-

SUPERHERO DRAMA Michael Douglas requesting Hank Pym to be killed off in Ant-Man 3 highlights the MCU's recent lack of stakes
There have been exceptions, but it's largely felt toothless as of late.
-

RAD ROLEPLAY How to play Fallout 4 as your fave from the TV show
Already binged Amazon's series, and feeling bereft? Try heading into the wasteland as Lucy, Maximus, or The Ghoul
-

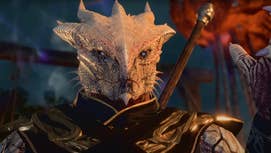
HIGH WATERMARK “We put everything into this expansion” - Final Fantasy 16’s DLC director speaks on the game’s final content drop
Final Fantasy 16 is finally complete, with its final DLC out now. We catch up with the director of the add-ons to talk about what's new for Rising Tide, and how to successfully close out Clive's adventures.
-
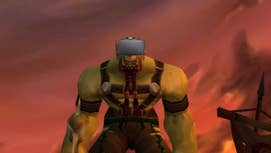
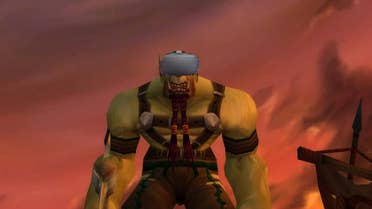
KICK WARRIOR You can now play World of Warcraft in VR - the perfect excuse for your awful DPS
Yeah raid leaders can check your parses, but they can't check to see if you've got a $500 VR headset on can they?
-
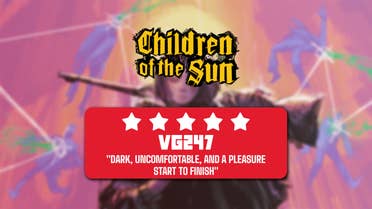
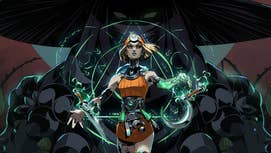
A ‘MAGNUM’ OPUS Children of the Sun review - A moody, emotive sniper-puzzle shooter dripping with style
Children of the Sun is a short but special game that is definitely bang for your buck.
-
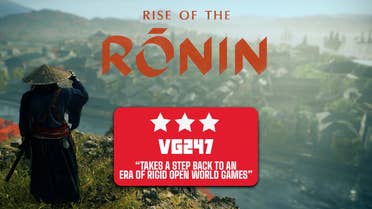
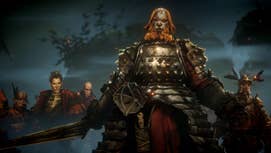
SOUP SANDWICH Rise of the Ronin review - Team Ninja without the bite, or the Nioh heights
Rise of the Ronin is undeniably an evolution of everything Team Ninja has made before, it just picked the wrong path to evolve.
-

PEACHY KEEN Princess Peach: Showtime review – Nintendo's leading lady is anything but asleep at the Switch
Princess Peach proves that she's more than just a damsel that needs rescuing from a castle – and she turns in a marvelous performance whilst doing so.
-
BLAST FROM THE PAST "It feels right" - Fallout's original creator's now properly reviewed Amazon's TV show, and he still likes it
He also touched on the whole Shady Sands thing.
-
IT'S RAD The original Fallout games show their age - but newer fans should still give them a shot
Yes, they may look a bit old and out-dated, but the foundations of the Fallout universe are perhaps more relevant than ever right now.
-

HALO THERE Sony is reportedly looking at making another acquisition, and this time it involves Halo
Ah yes, thinking about buying big things, we definitely don't see much of that from companies nowadays.
-
NUMBER OF THE BUGS-T Helldivers 2 players have managed to kill two billion Terminids so quickly that people are, er, actually trying to do maths
Hang on, let me get my bug-squishing abacus out and ring the guy who used to give me detention.
-
You'll probably have to do a bit of unavoidable waiting for updates, but some new tags should make things a bit less confusing.
-
.jpg?width=271&height=153&fit=crop&quality=70&format=jpg&auto=webp)
MIXED FOR THE WICKED No Rest for the Wicked has players divided, as it launches to Mixed Steam reviews and plenty of complaints
No Rest for the Wicked is Moon Studios' first Steam Early Access launch, and it shows.
-

THERE YOU GO Wahey, Amazon's Fallout TV show season two is now officially confirmed, just in case there was any doubt
More adventures involving Lucy, Maximus and The Ghoul, coming right up like a tasty Deathclaw egg omelette.
-

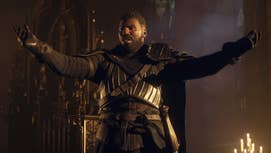
HENRY'S BACK Kingdom Come: Deliverance 2 continues the realism-obsessed RPG series - and is set to release later this year
Warhorse Studios returns to Bohemia with a sequel to its realism-focused action RPG.
-

DOMAIN EXPANSION Jujutsu Kaisen is officially the world's most popular anime, and I can't think of a series that deserves it more
Yes, I know you think your favourite series should be the most popular, but it isn't so pipe down.

-
VIDEO An heir to LucasArts? After 8 years in development, Harold Halibut is too good to be a 90s throwback
Part Wallace & Gromit, part Red Dwarf, there's a magic to the way this Game Pass gem blends old and new.
-
RAD ROLEPLAY How to play Fallout 4 as your fave from the TV show
Already binged Amazon's series, and feeling bereft? Try heading into the wasteland as Lucy, Maximus, or The Ghoul
-
KICK WARRIOR You can now play World of Warcraft in VR - the perfect excuse for your awful DPS
Yeah raid leaders can check your parses, but they can't check to see if you've got a $500 VR headset on can they?
-

How you sign in to this site is changing slightly
ReedPop ID is now Gamer Network ID.
-
"Yes, it’s hype, but it’s hype because it really looks and feels good.” - Excited Swen
-
STOPPING THE SIFTING Diablo 4 PTR's best feature has me more excited about Season 4 than I’ve ever been – and it’s not even the better loot
One of the perhaps less flashy changes in the recent Diablo 4 PTR is the one that actually has me most interested in playing Season 4 next month.
-
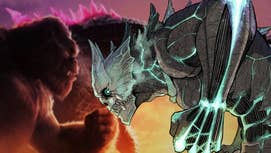
COUNT YOUR KAIJU Want to keep that Godzilla train rolling? This season's latest kaiju anime is the one for you
Don't worry, Godzilla Minus One and Godzilla x Kong: The New Empire fans, there's more kaiju ready and waiting for you.
-
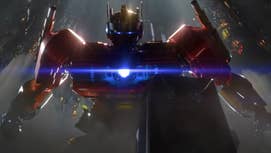
CYBER-BROS Transformers One's first trailer presents an animated buddy action-comedy on Cybertron
Yeah, we can get behind this pitch.
-

BATTLING FOR BALANCE Chill out, Helldivers 2 players calling for fixes over new stuff, Arrowhead's "figuring it out" and plans to do a better job of delivering both
Your feedback's valuable, but maybe draw the line when you start to sound like a backseat dev, yeah?
-

SPACE FOR ALL Apple is staying in the space business, as For All Mankind gets a season 5 renewal plus a spinoff
It really likes producing these shows.
-

NO F*CKS GIVEN Brian Cox comes out with guns blazing and tears into Joaquin Phoenix's "truly terrible" Napoleon performance
Well, at least he's being sincere.
-

TWISTED FIGHTSTARTER Doom-inspired Dragon's Dogma 2 mod lets you engineer inter-enemy fights by controlling exactly how angry they can get
As Harry Hill would say, there's only one real way to find out whether a Cyclops is better than a wolf.
-

SECOND ATTEMPT The American Oldboy remake turned out horrible, so they're making a TV series next
At least the bar is underground at this point.
-
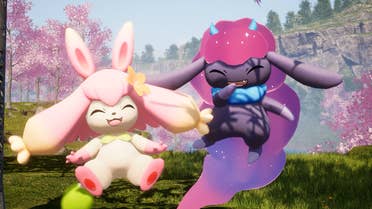
BE A PAL Palworld Guide: How to become a Pal Master
Get the most out of the wild islands of Palpagos with our Palworld Guide!
-
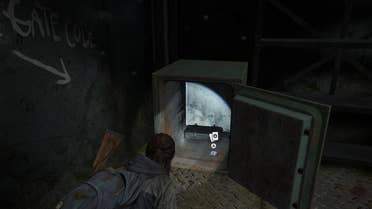
The Last of Us 2 safe codes and combinations - all safe locations
All the safe codes and their locations in The Last of Us 2.
-
Naraka Bladepoint Tier List: Best characters for Solos and Trios
These are the best characters in Naraka: Bladepoint as decided by the top pro players!
-
INEVITABLE, REALLY Somehow, Hades 2's new character art has left fans even hornier than the first game, and you can't really blame them
Yup, all of those awoooga noises Tom and Jerry make when they fall in love.
-

TARANTI-NOPE Quentin Tarantino walks back final film plans that would've included a Once Upon a Time in Hollywood character
No, we don't think he's returning to his Star Trek idea.
-
TIME IS RELATIVE Todd Howard steps in to double down that yes, Fallout: New Vegas is canon to Amazon's Fallout
No deviation from the timeline.
-
_ddwYK80.png?width=271&height=153&fit=crop&quality=70&format=jpg&auto=webp)
CRAB RAVE World of Warcraft is fixing a major problem with the help of... Crabs?
Thanks to a new arachnophobia option, crabs are taking over Azeroth and beyond.
-

SECRETS REVEALED As World of Warcraft thrives in its experimental phase - Season of Discovery is performing well above expectations
It looks as though Blizzard is still discovering just how popular its classic content can get.
-
WTB BOOST World of Warcraft: The War Within preview - delving into an exciting new saga
The first of three new expansions, The War Within makes a great first impression.
-

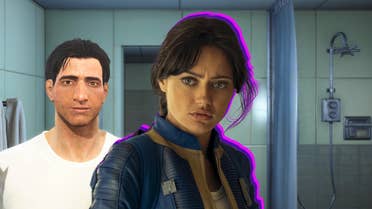
HIGH VAULTAGE Fallout TV show spoilercast: what does it mean for Fallout 5?
Amazon’s TV juggernaut isn't afraid to play around in Bethesda's universe, but do we want it to?
-

GAGA FOR GOGGINS This Fallout 4 mod slaps Walton Goggins' beautiful pre-war face from Amazon's Fallout all over The Commonwealth
He's Cooper Howard, and now he's looming over you as you kill feral ghouls or help a settlement.
-

REAL ONES ONLY Sonic 3 is for "all the real diehard fans" says Idris Elba, and I desperately hope he means there'll be Chao
And maybe some other familiar faces, too.
-

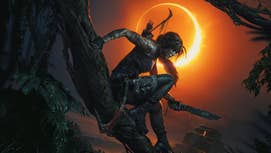
DESTINY'S CROSSROADS Final Fantasy 7 Rebirth's ending was never going to please everyone, and that's fine
Sometimes some things aren't meant for everyone.

Editor-in-chief

Assistant Editor

News Editor

Senior Staff Writer

Staff Writer

Guides Editor

Guides Writer

Guides Writer

Video Producer

Deputy Editorial Director ReedPop